This has been in the making for 1.5 years and I'm thrilled to share it with you. But instead of writing a long post with boring details, I'll just add short comments to the pictures.
Enjoy!


Here are also some videos I've made along the way:
Enjoy!
 |
| The beginning: RasPi3 and RetroPie started for the first time. |
 |
| Buttons & joystick from AliExpress for $20. Neat! |
 |
| Testing the buttons. |
 |
| The first box. |
 |
| Version 2 of the box, much cleaner. |

 |
| Should be something like this, when it's finished |
 |
| Temporary solution: ATX power supply from an old PC. |
 |
| The amplifier arrived, too! |
 |
| Learning to solder: if your tip looks like this, you're doing something wrong. |

 |
| Visual concept number two: controller and speaker box. |

 |
| The messy insides of the controller box. |
 |
| A friend helped me out cutting the wood for the final controller box. |

 |
| That's not the final box, just another test run. |


 |
| This is more like it. Made from an old office desk. |
 |
| Button layout on paper... |
 |
| ...and on wood. |
 |
| Gluing the walls and the top part. The bottom plate is fixed with screws. |
 |
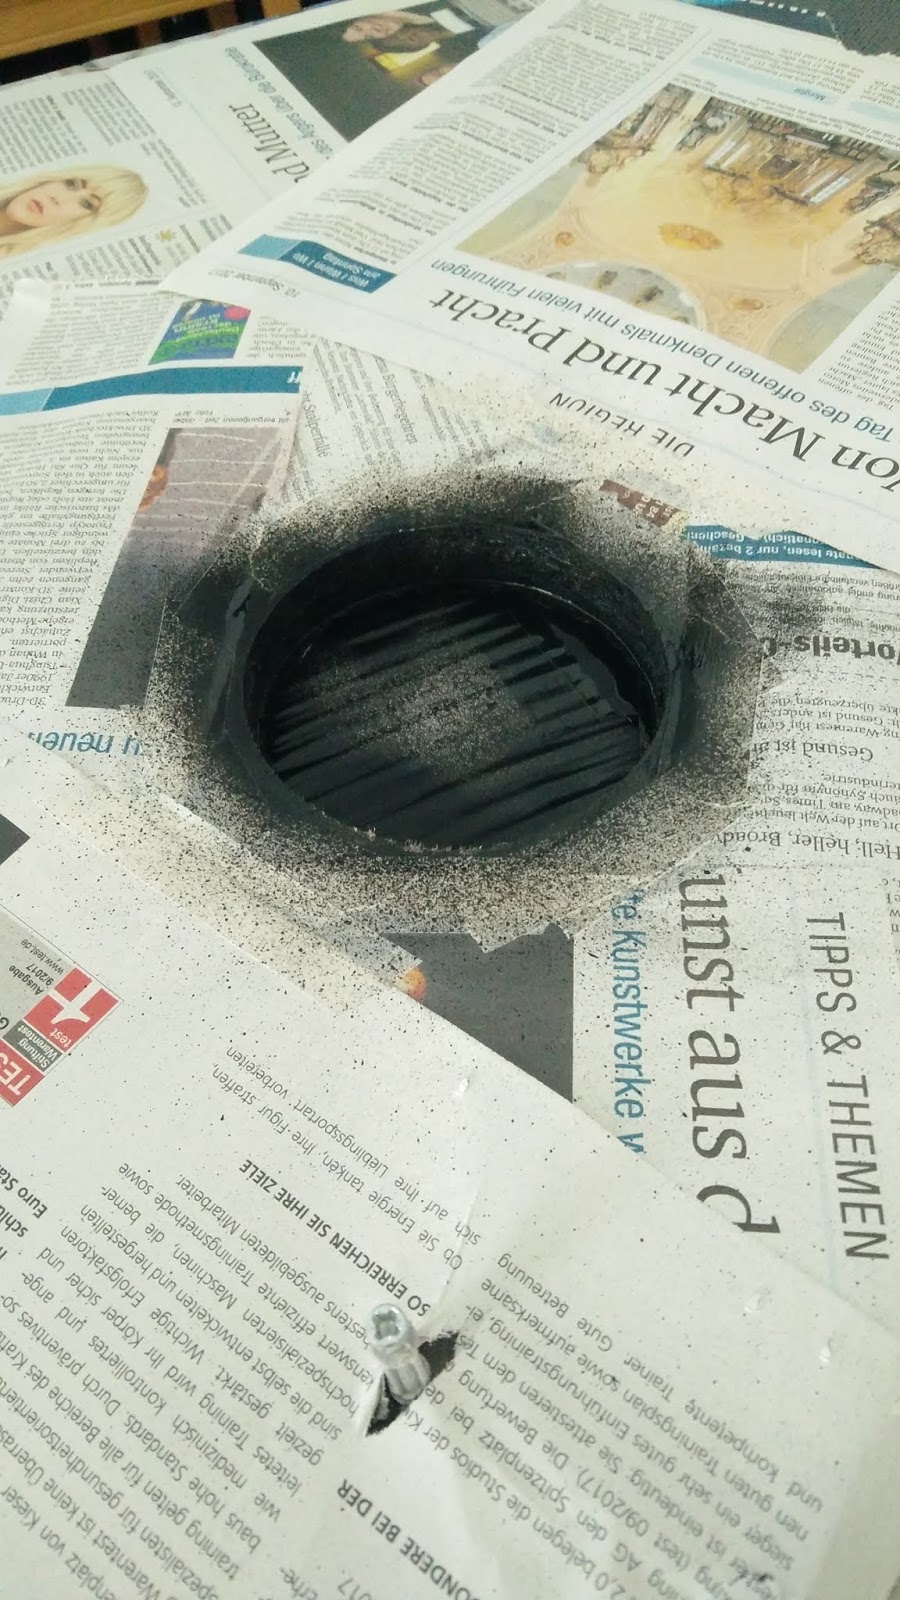
| Making a hole for the speaker. |
 |
| Just messing around on a piece of wood (painting, masking). |
 |
| The painted controller box. |
 |
| Testing the speakers and the RCA connectors. |
 |
| What a mess... |
 |
| Soldering the speaker cables, crimping the power cables. |


 |
| How will everything fit in the box? |
 |
| Closeup of the RasPi, HDMI->VGA adapter and RCA terminal. |
 |
| The bottom of the box. |

 |
| Fooling around with masking. |

 |
| It's coming together slowly. |


 |
| The hole on the right side is way to high - measuring error. |
 |
| Not bad, but it didn't come out as good as I'd have liked. |
 |
| Speaker housing. |

 |
| I think this was the first time it was standing. |


 |
| Painting the inner wall of the speaker hole. |
 |
| Starting the final assembly. |
 |
| The volume knob will be 3D printed and fitted on the amp's knob. |

 |
| Almost everything in place. |


 |
| The cabinet from behind. The controller box can be taken out and used on it's own. |
 |
| Almost done! A proper volume knob and speaker grille are still to be done. |

 |
| Hand-made speaker grille. |
 |
| And the 3D printed volume knob is also in it's place. |
 |
| Finished! :) |
Here are also some videos I've made along the way:
Comments
Post a Comment